Now that the path is cleared, walk in.
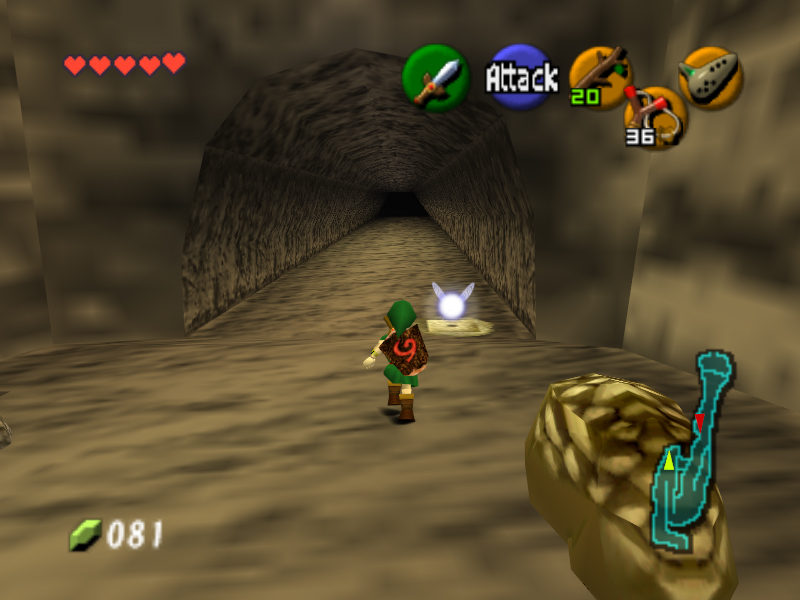
There's a rather... odd looking wall ahead. Blow it up with a bomb flower. Now THERE'S the real Dodongo's Cavern!
What's the first thing you see? Lava? Yep. This place is full of LAVA. (well, we're in a volcano...) Anyway, you should probably equip the Hylian Shield, so you don't burn the weak wooden one.
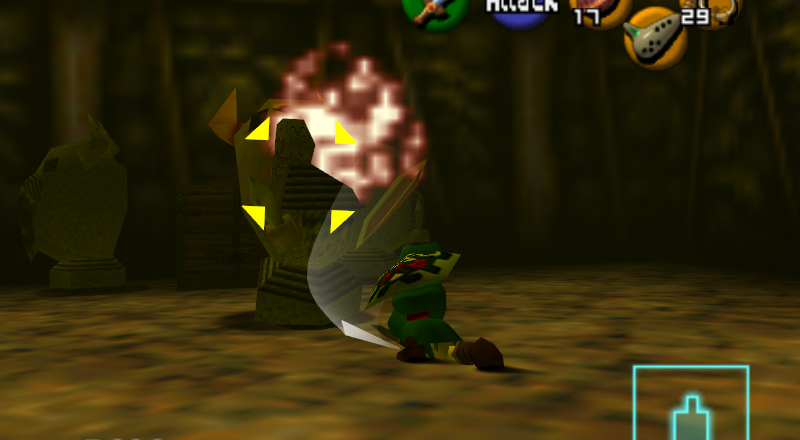
You'll see a Beamos, a statue with one eye. You can kill them with a Bomb Flower.
For the next part, go to the left side of the room: either jump to the middle platform and then to the left; or go around on the dry land to find a ladder on the side that leads up. On the left platform, pick up the Bomb Flower and destroy the two explodable walls- one contains a chest with a map, the other, a Business Scrub that sells Deku Shields in case yours gets burned.
Next, get to the RIGHT side of the room the same way- middle platform then right platform, or ladder. Just get to the right side, then use the Bomb Flower to kill the laser-shooting Beamos, then let it regrow and destroy the farthest bombable wall and go through the passage that's revealed.

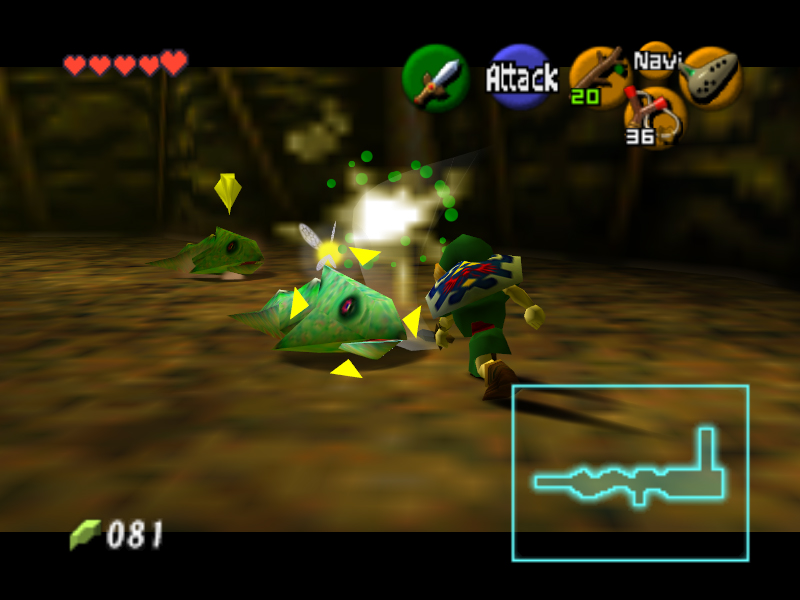
In this new corridor, go through, destroying the fish-like creatures called Baby Dodongos- but beware, they explode when defeated.
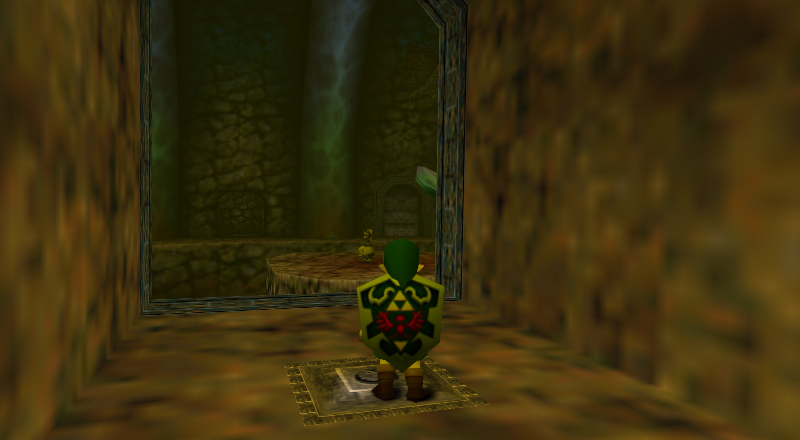
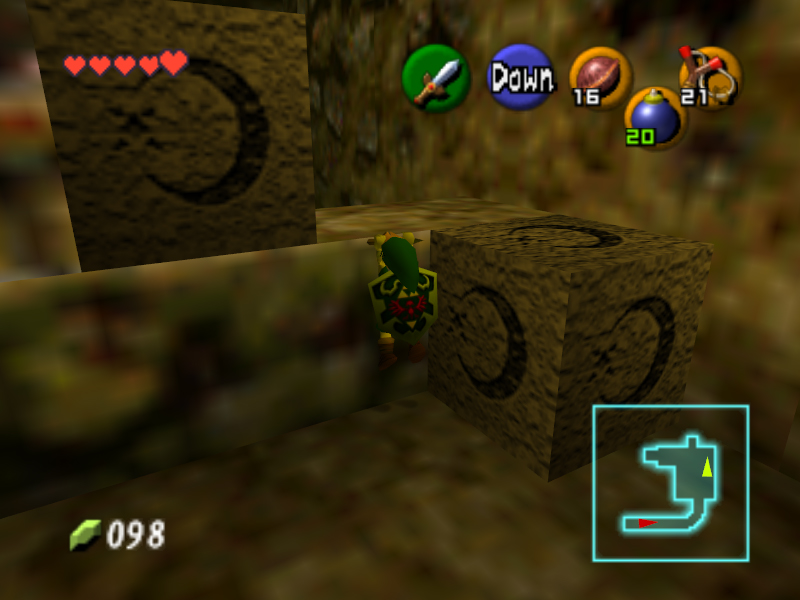
Go up the ledge up ahead. There's a barred door with a switch. You MUST stay on the switch for the door to open. Don't worry- just push/pull the statue nearby onto the switch and go through the door.
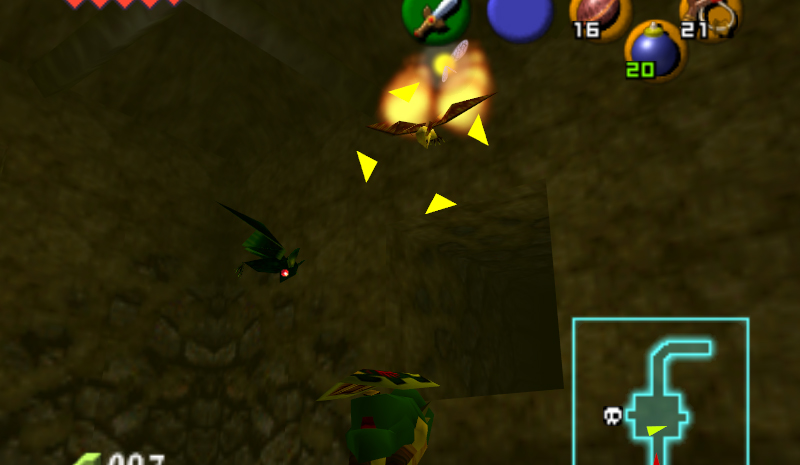
In here, kill the two bats, called Keese. Go through the next door.
The door slams shut behind you. You'll have to kill two Lizalfos for it to open. Locate them on one of the floating lava platforms. Target it, put up your shield, and hit it between attacks. They're easy once you get the hang of it. Once you defeat both, the door ahead opens. Go through.

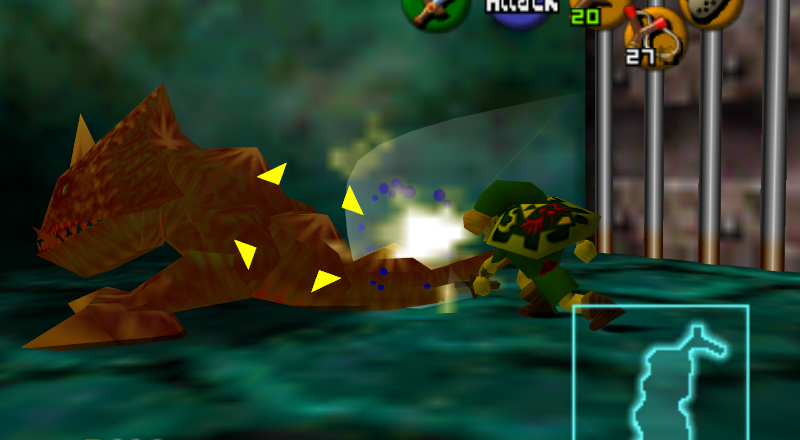
This room has a new enemy: Dodongos. They breath fire, and their only weak spot is their tail. Either slingshot their tail between their attacks, or make them attack you by standing in front of them then quickly run around and hit their tail. 2-4 hits kills them.
Defeat all three of them around the room, then head to the door you came in. Light a Deku Stick on this torch, then run to the other side of this room and light the unlit one, causing the barred-shut door to open. Go through.

Now you're in the main room again, on a higher-up ledge. Step on the switch ahead, which opens a barred door across the way, below. Jump down and go through the door.
In here there's a huge pillar with Bomb Flowers everywhere- except for one little gap. Suspicious. We'll deal with that later. For now, let's get the compass.
Explode the odd-looking wall in the corner and walk in. An Armos statue. Nice. Perhaps I'd like to touch... it... ? Oh, it's alive! Okay! To defeat it, you can carefully aim a Bomb Flower or a Deku Nut, which you may have acquired by killing a Deku Baba. Once it's defeated, open the chest that appears to get the Compass. Exit the room.
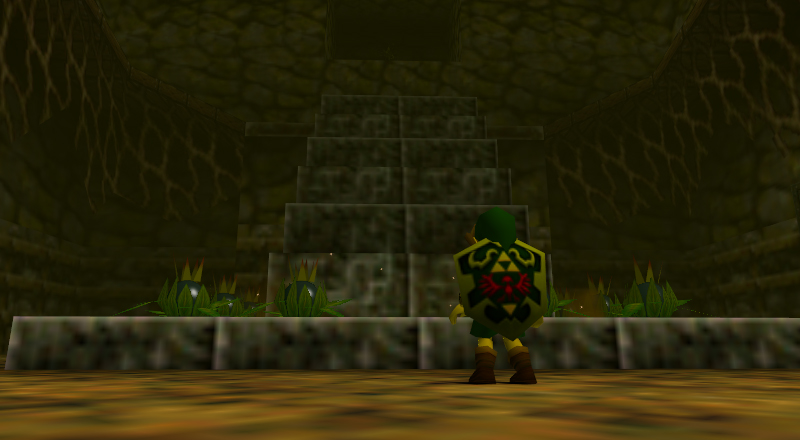
Now, pick up the Bomb Flower near the room you were just in, and put it in the gap on the pillar. BOOOOOM!!!!!!!!!!!! The whole pillar explodes, shifting and making steps appear. So, go up them.
Curve around either left or right up here, and kill the Skulltulas on the ivy if you'd like. Go around and through the next door.
In this room, kill the Fire Keese- yep, these Keese are on fire- and remember to keep your shield up. Pull the statue that's NOT alive away from the ladder. Go up the ladder and step on the switch, opening and directing you toward the next door.


Just go across the bridge here and go into the next room.
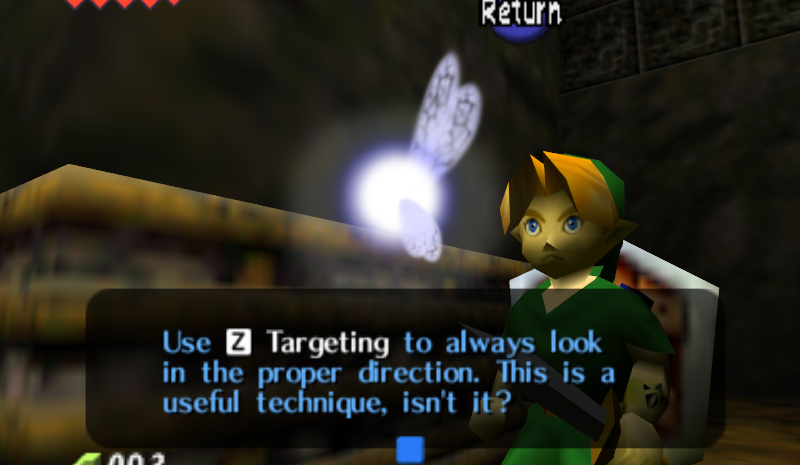
Stand on the ledge carefully and look down. These bad boys are called Blade Traps. Carefully jump off and go forward (between the two stone pillars) until Navi explains that you can use Z-Targeting to peek around corners and see Blade Traps. Great idea!
Do it if you must, and keep going to the other side of the room. Push/pull the Stone Block away, and push/pull it over to the nearby platform, using it to climb up here. This chest has a Red Rupee in it- worth 20 Rupees. Pick up the Bomb Flower and throw it at the bombable wall above the ladder. The bomb keeps growing back, so don't worry about missing. Once it explodes, go through.
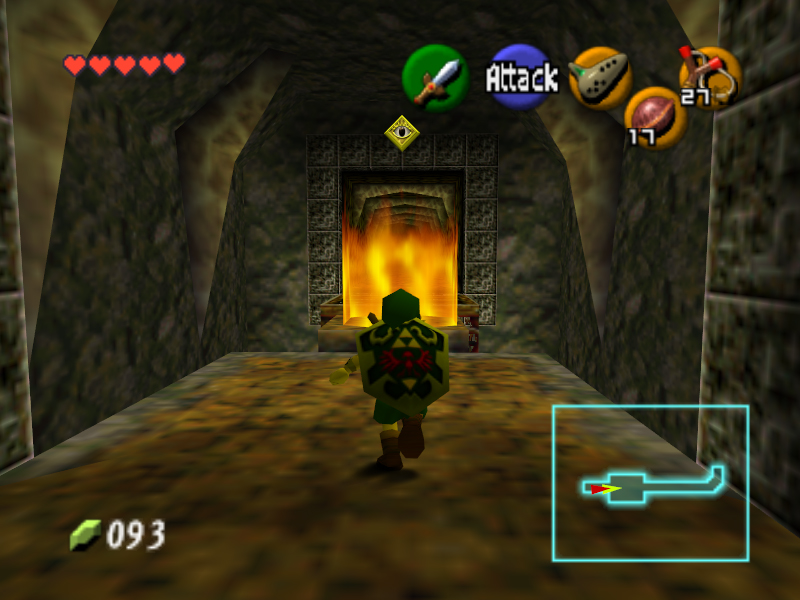
This room is full of fire! And there's an eye switch, watching you... weird... Shoot it with your slingshot which makes the flames disappear temporarily. Go to the other side and through this door.
Baby Dodongos everywhere! Keep your shield up as they jump at and over you. Continue through this hallway and go through the next door.
In here, two Lizalfos appear. Although there's much smaller platforms, it's still the same as last time. Defeat them, causing the next door to unlock. Go through.

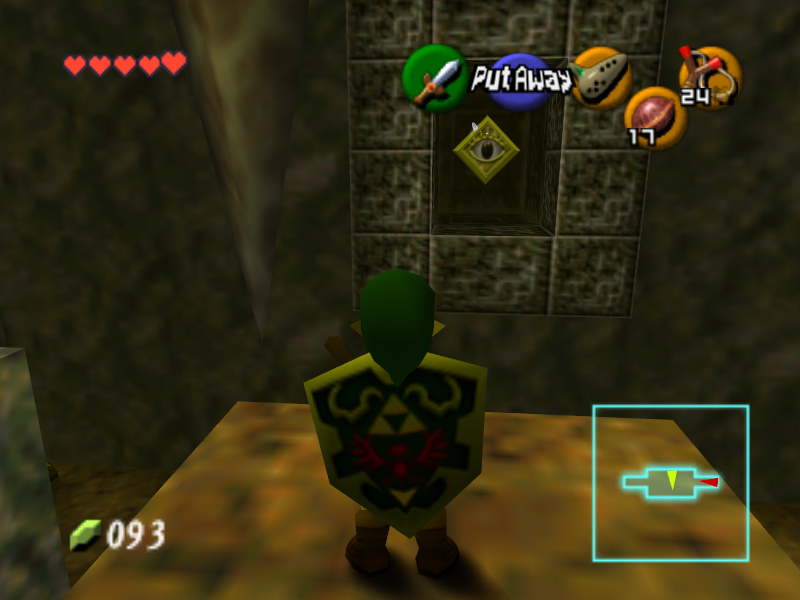
It's another fire and eye switch puzzle! Shoot the eye switch, and the flames go down. Jump onto this platform- but wait! The next platform is still flaming! Not to worry- to the left hand side, there's a small alcove in the wall with another eye switch. Shoot it to make the other flames go down and continue into the next door.
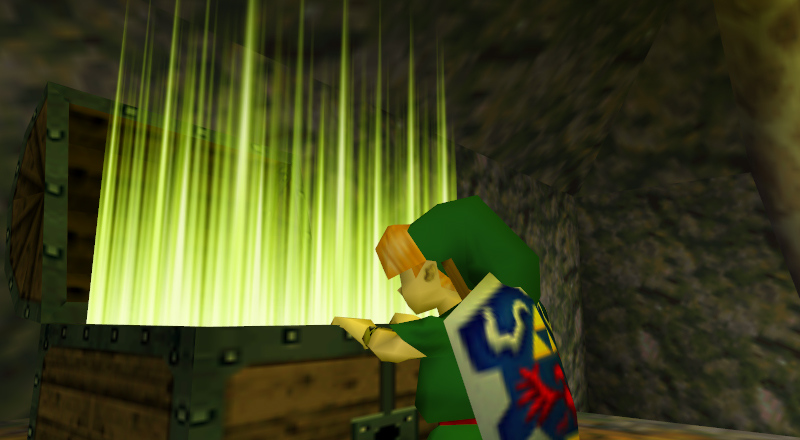
This is the room with Blade Traps again, but on an upper level. Jump to the next platform. The chest here contains Bombs, so you don't have to take the time to pluck the bomb flowers. Be sure to equip them, because the boss battle is soon...
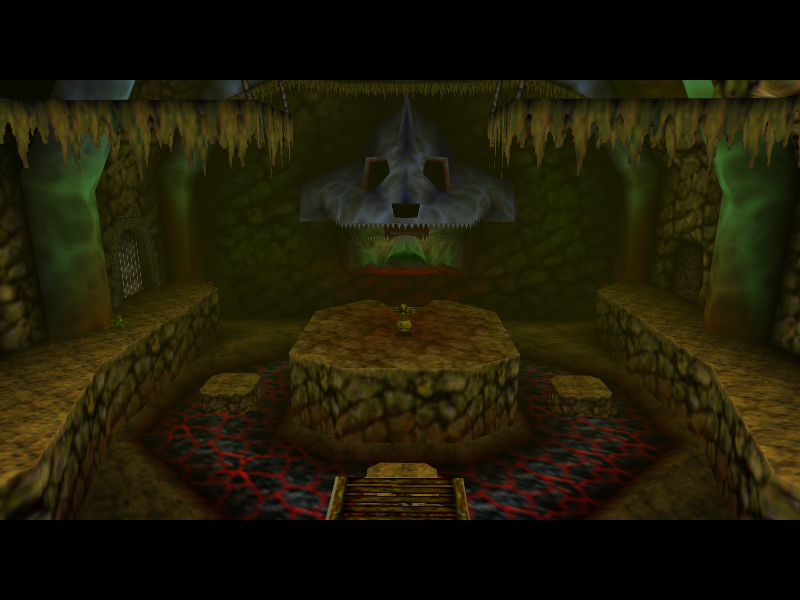
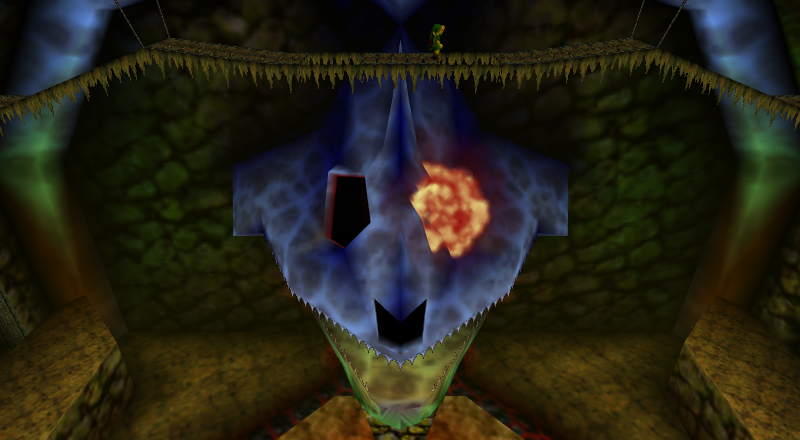
Go through the door ahead. You're in the HIGHEST level of the main room now- eek! Step on the switch to make the rising platform in the middle rise higher. Step on it at its highest point and get to the other side. What's this? An engraving? It says to turn the giant dead Dodongo's eyes red- referring to the Dodongo's head-shaped structure in the middle of this room.
There's a bridge above the Dodongo head where the two eyes are below. Throw a bomb in each gap, exploding the eyes and making them turn red. This makes the Dodongo's mouth open, revealing a door.
Jump down and enter the door.
This room has some Fire Keese. Defeat them if you'd like, then go to the right, climb up, and go through this door.
In here, there's some more Fire Keese- and it's a maze. Here's what you do:
1. Defeat the Fire Keese in here- they're very annoying, so this is recommended.
2. Go to the opposite side of the room, climbing over the blocks.
3. On this ledge, climb onto the wall, carefully making your way to the other side, like a tightrope. Drop down when you get to the next area. Go down this hallway.
Okay. In here, push the block off the ledge, pushing/pulling it to the switch to keep the door open. Go in.
Stock up on bombs in the chest and explode the patch on the floor. Fall in...
There's a rather... odd looking wall ahead. Blow it up with a bomb flower. Now THERE'S the real Dodongo's Cavern!
What's the first thing you see? Lava? Yep. This place is full of LAVA. (well, we're in a volcano...) Anyway, you should probably equip the Hylian Shield, so you don't burn the weak wooden one.
You'll see a Beamos, a statue with one eye. You can kill them with a Bomb Flower.
For the next part, go to the left side of the room: either jump to the middle platform and then to the left; or go around on the dry land to find a ladder on the side that leads up. On the left platform, pick up the Bomb Flower and destroy the two explodable walls- one contains a chest with a map, the other, a Business Scrub that sells Deku Shields in case yours gets burned.
Next, get to the RIGHT side of the room the same way- middle platform then right platform, or ladder. Just get to the right side, then use the Bomb Flower to kill the laser-shooting Beamos, then let it regrow and destroy the farthest bombable wall and go through the passage that's revealed.
In this new corridor, go through, destroying the fish-like creatures called Baby Dodongos- but beware, they explode when defeated.
Go up the ledge up ahead. There's a barred door with a switch. You MUST stay on the switch for the door to open. Don't worry- just push/pull the statue nearby onto the switch and go through the door.
In here, kill the two bats, called Keese. Go through the next door.
The door slams shut behind you. You'll have to kill two Lizalfos for it to open. Locate them on one of the floating lava platforms. Target it, put up your shield, and hit it between attacks. They're easy once you get the hang of it. Once you defeat both, the door ahead opens. Go through.
This room has a new enemy: Dodongos. They breath fire, and their only weak spot is their tail. Either slingshot their tail between their attacks, or make them attack you by standing in front of them then quickly run around and hit their tail. 2-4 hits kills them.
Defeat all three of them around the room, then head to the door you came in. Light a Deku Stick on this torch, then run to the other side of this room and light the unlit one, causing the barred-shut door to open. Go through.
Now you're in the main room again, on a higher-up ledge. Step on the switch ahead, which opens a barred door across the way, below. Jump down and go through the door.
In here there's a huge pillar with Bomb Flowers everywhere- except for one little gap. Suspicious. We'll deal with that later. For now, let's get the compass.
Explode the odd-looking wall in the corner and walk in. An Armos statue. Nice. Perhaps I'd like to touch... it... ? Oh, it's alive! Okay! To defeat it, you can carefully aim a Bomb Flower or a Deku Nut, which you may have acquired by killing a Deku Baba. Once it's defeated, open the chest that appears to get the Compass. Exit the room.
Now, pick up the Bomb Flower near the room you were just in, and put it in the gap on the pillar. BOOOOOM!!!!!!!!!!!! The whole pillar explodes, shifting and making steps appear. So, go up them.
Curve around either left or right up here, and kill the Skulltulas on the ivy if you'd like. Go around and through the next door.
In this room, kill the Fire Keese- yep, these Keese are on fire- and remember to keep your shield up. Pull the statue that's NOT alive away from the ladder. Go up the ladder and step on the switch, opening and directing you toward the next door.
Just go across the bridge here and go into the next room.
Stand on the ledge carefully and look down. These bad boys are called Blade Traps. Carefully jump off and go forward (between the two stone pillars) until Navi explains that you can use Z-Targeting to peek around corners and see Blade Traps. Great idea!
Do it if you must, and keep going to the other side of the room. Push/pull the Stone Block away, and push/pull it over to the nearby platform, using it to climb up here. This chest has a Red Rupee in it- worth 20 Rupees. Pick up the Bomb Flower and throw it at the bombable wall above the ladder. The bomb keeps growing back, so don't worry about missing. Once it explodes, go through.
This room is full of fire! And there's an eye switch, watching you... weird... Shoot it with your slingshot which makes the flames disappear temporarily. Go to the other side and through this door.
Baby Dodongos everywhere! Keep your shield up as they jump at and over you. Continue through this hallway and go through the next door.
In here, two Lizalfos appear. Although there's much smaller platforms, it's still the same as last time. Defeat them, causing the next door to unlock. Go through.
It's another fire and eye switch puzzle! Shoot the eye switch, and the flames go down. Jump onto this platform- but wait! The next platform is still flaming! Not to worry- to the left hand side, there's a small alcove in the wall with another eye switch. Shoot it to make the other flames go down and continue into the next door.
This is the room with Blade Traps again, but on an upper level. Jump to the next platform. The chest here contains Bombs, so you don't have to take the time to pluck the bomb flowers. Be sure to equip them, because the boss battle is soon...
Go through the door ahead. You're in the HIGHEST level of the main room now- eek! Step on the switch to make the rising platform in the middle rise higher. Step on it at its highest point and get to the other side. What's this? An engraving? It says to turn the giant dead Dodongo's eyes red- referring to the Dodongo's head-shaped structure in the middle of this room.
There's a bridge above the Dodongo head where the two eyes are below. Throw a bomb in each gap, exploding the eyes and making them turn red. This makes the Dodongo's mouth open, revealing a door.
Jump down and enter the door.
This room has some Fire Keese. Defeat them if you'd like, then go to the right, climb up, and go through this door.
In here, there's some more Fire Keese- and it's a maze. Here's what you do:
1. Defeat the Fire Keese in here- they're very annoying, so this is recommended.
2. Go to the opposite side of the room, climbing over the blocks.
3. On this ledge, climb onto the wall, carefully making your way to the other side, like a tightrope. Drop down when you get to the next area. Go down this hallway.
Okay. In here, push the block off the ledge, pushing/pulling it to the switch to keep the door open. Go in.
Stock up on bombs in the chest and explode the patch on the floor. Fall in...
Comments
Post a Comment