So, last time you were here - or I was here, whatever - and I KNOW it's been a long time, but anyway, last time Link was just sucked into a giant fish.
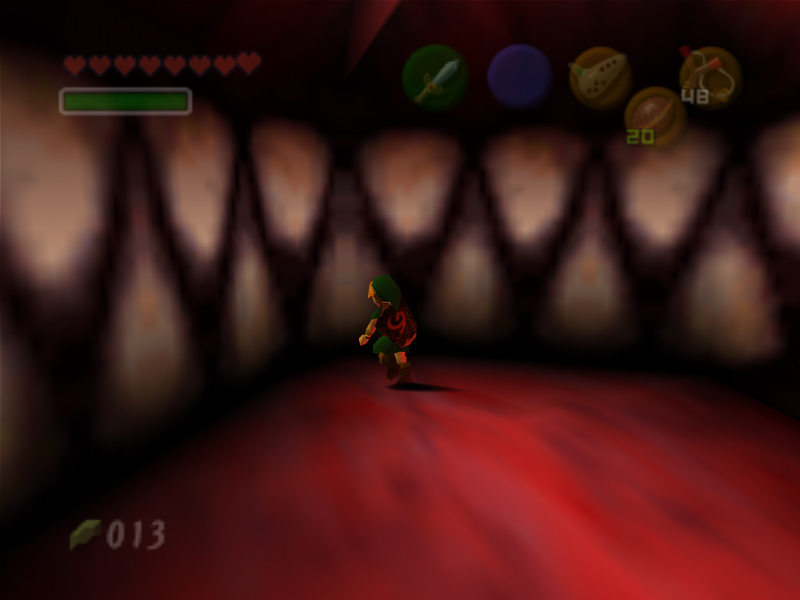
Wow.
Okay.
So, even though he keeps his mouth closed at ALL times, this big ol' fish, Jabu-Jabu, is perfectly, um, escape-able. Which probably is a word. Or not. Wait, what?
Anyway, you can escape! By walking RIGHT through his teeth. Perfectly logical.
'Nuff said.
Okay, so, anyway, yeah. Head forward and two Oktoroks will pop out. Defeat them with the Deku Shield just as you would a Deku Scrub. Then proceed, my dear friend.

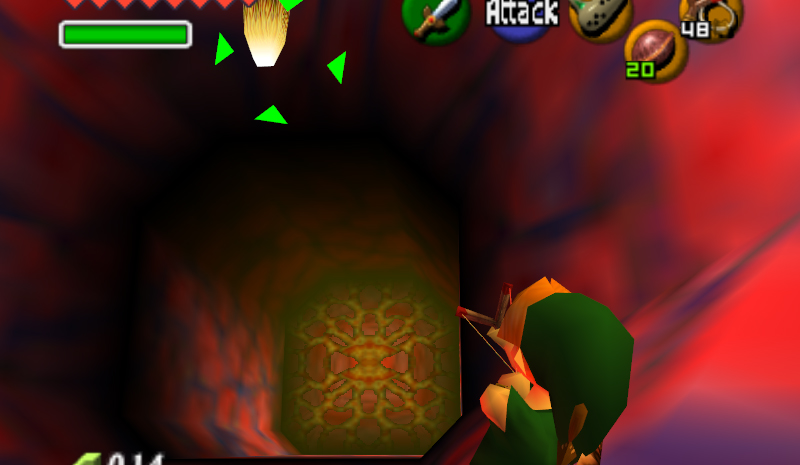
(You can also kill the Shaboms, but they are bubbles, and I just have this feeling that bubbles will probably not, say, kill you in two hits. But you can. If you want. Only if you want. No pressure. The world won't end if you don't. ...Or will it?) Now, being in a fish is (well, probably NOT) cool and all, except for the doors. Which are made out of veins. Yes. The ones that you see on your wrist kind of veins. So. Good thing a, well, weird bumpy slimy fishy... knob... is above the door. Shoot it with your slingshot and proceed through the door that looks like it's pulsing. Which it probably is. As we are in a fish.
In here is a jellyfish called a Biri. And because you have no boomerang, avoid it.
Did I accidentally give it away?
The weapon of this dungeon?
Oh, NO!
Anyway, enter the door on the other side.
In here is... let me clear my throat... >Ahem<...
Alllll hail Princesssss Ruto, the snobbbbbyyyyy braaaaaaaaaatttttttttt of the Zzzzzzzzzooooorrrrrrraaaaassssssss!!!!!!!!!!!!!!!!!!
(It's Ruto.)
And Ruto does not know what note in a bottle we're talking about.
Nor does she want to give us the Spiritual Stone of Water.
Nor-nor does she want our help.
Nor-nor-nor - wait. Never mind. She fell into a hole.
F
o
l
l
o
w
h
e
r
a
l
l
t
h
e
w
a
y
d
o
w
n
.
.
.
.........
into a room. Talk to her. She'll complain. Talk to her again. She'll complain. Talk to her a few more times, and she'll ask you to carry her and proceed to curl into a ball.
What.
Anyway, carry her to nearby door. Go in. There's some Shaboms in here, and you can kill them. Or throw Mrs. Lazy-Fishface-I-Can't-Walk-Myself at them. Either one. Go around the corner and kill these little fish - Stingers. Throw Ruto to the other side of the pit you're facing.
Now, step on the button in the middle of the pit to raise the water level. Use the water to swim to other side, and grab Mrs. Lazy-Fishface-I-Can't - Never mind, Ruto. There's another closed door; hit the knob again to go through.
In here, quickly set down Mrs. Lazy- Uggggggggghhhhhhhhhh, Ruto - and kill the Oktorok. There's also a Business Scrub nearby selling Deku Nuts for 20 Rupees; he's in the hole straight ahead;;dive down there.
Now, wait for the raising/lowering platform to come toward you, grab Ruto, and jump on it. It leads to the main room, so go through the door leading to where you first met Ruto.
Go to the other side of the room, to the door that we haven't gone through yet. Be careful! - Biri and now Bari will appear. Go in the door.
Now, in here, there are many halls and doors and - Oh, yes - Tailspasaran, a new enemy that you MUST IGNORE!!!! Go right, and there's a door; to open it, step on the switch BUT WAIT! You need to hold Ruto, because it's not enough weight with you and you alone.
There are four Stingers in the room the switch unlocks. If you kill them all, you get the Boomerang! Okay, why did Ruto follow us in? Anyway, pick her up and leave.
Oh, hey! Now that we have the Boomerang, we can kill the Tailspasaran! Target them and release the Boomerang.
Hey, that sounded cool.
Release the Boomerang.
Um.
Anyway.

Head to the other door with the switch, across the room. This time, you need to put Ruto on the switch and go in without her.
(Yes!)
In here is a Parasitic Tentacle; kill it with a couple'a hits from your boomerang by targeting it and walking in circles around it. Afterward, a chest appears with a map in it... but if you're reading this, you don't need it! Because I'm telling you where to go.
Now, Ruto is upset you left her. Well, guess what, Ruto? I'll leave you again. If I want to. Because guess what?! If I leave you, you'll automatically respawn wherever you last were! Neener-neener-neener! Okay, so now for the compass. Round the corner, and enter the door, which used to be blocked. By the tentacle. That you just defeated.
So, in here, there is a bunch of Shaboms. And even though they don't hurt you, if you don't "Kill them alllll!!!" in the time limit, your health is missing when you respawn. Hmm. But do kill them all. In the time limit. Of 40 seconds. Then a chest will appear with the compass in it. Yay!

A way to kill them is hit them with the boomerang as shown above, or just do it the traditional way. With a sword.
Once you have the compass, go back to where you found the boomerang. The door next to it is open, so go in. (You might need Ruto for extra weight. If not, it's glorious being without her!) In here is another Parasitic Tentacle: A blue one. Kill it as you did the red one, then leave.

Now you can head to the hallway that branches out in the middle; the ' middle hallway '. In here is - gasp - another Parasitic Tentacle! A green one. Defeat it how you did the red and blue ones. But be warned - Biri, jellyfish, are surrounding it. This one can smack you into the Biri, so defeat them first with the boomerang.


Now, once all the tentacles - that - happen - to - be - parasitic are defeated, backtrack to where you met Ruto.
The hole at the top left corner of the room used to have a Parasitic Tentacle sticking out of it - surprise, surprise - but now it's gone. So fall down that hole.
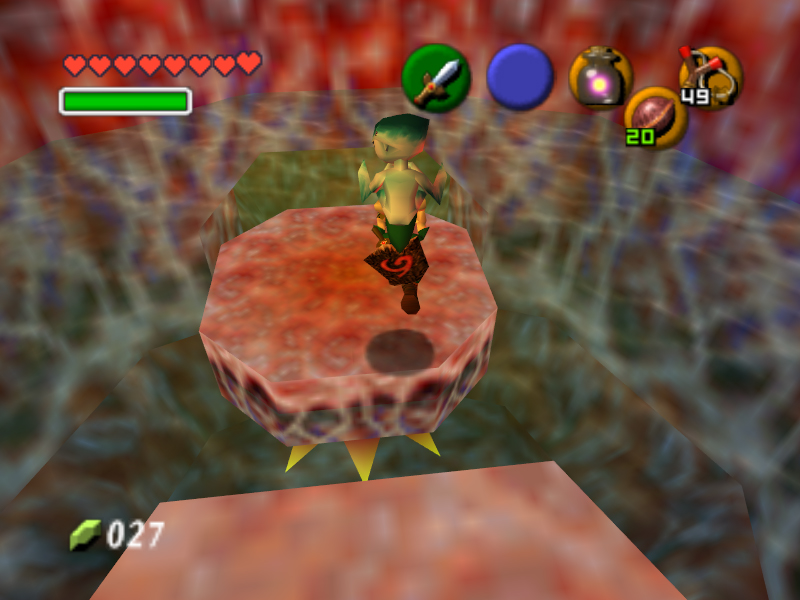
Now, on this platform, you can kill the two Gold Skulltulas with your Boomerang and grab the tokens the same way, or just proceed down this hallway.


Now, in this room, Ruto's all, "Throw me on that platform in the center of the room!" I wish we could do without, but... the game won't progress without. So do so...
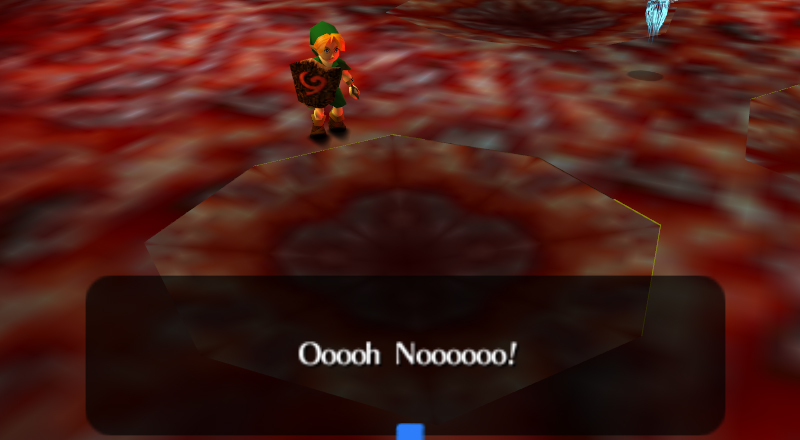
WHAT?!?!?

NO. WAY. NO. HOW. NO... NO FAIR! You know what?! Claim it as your own! Step forward, and... well, even better, watch Ruto fall down a hole and possibly into the jaws of a Big Octo. And, well, even worse... follow her in.

So, this is a Big Octo, a mini - boss. He runs in circles around a spiked platform, and the spiked platform spins. He runs in whatever direction it's spinning, so that's good to know if you are running for your life and the platform changes direction suddenly. 5-second rest period! Anyway, there are two ways to defeat him. The first is a little trickier, but effective anyway. Run a away from him, staying close to the spikes until you reach his backside. Target him, hit him with the boomerang, and slash him while he's stunned. The second way is easier but damages your health a bit. Since he turns around when he hits you, purposely let him hit you, then when he turns around, stun him and slash him. After four hits, he dies.

Step on the spinning platform - which does not spin anymore and is not spiky - and you will be raised to the next level.

The boss is coming up soon, so grab some hearts if you're low. And now, here are some wiggly electric jelly blobs. Oh, they're trying to kill me? Well, I'll just kill them back!
Not so fast.
Hit the first one with the Boomerang and - gasp - step on it! From here, hit the next one, jump on it, and jump to the door from there.

There's a platform just sittin' there in the place we end up in. Jump on it. Ooooh, an elevator! Sadly, (Actually, happily) we don't have Ruto anymore, so drag a box onto the switch in front of the door instead. (Why there is a box inside a giant fish is beyond me. Actually, so is why there are treasure chests in here. And jellyfish. Well, maybe he ate those. But they survived. And Shaboms must be, well, gas bubbles.)
Kill all of the Biri in here, then go to the other side of the room. Kill the Golden Skulltula on this web, grab the token, then climb up the vines it was on.
Notice the switch above the door. It's blocked by webs, so target it from different angles and hit it with the boomerang until you hit it. You may not get it on your first try!
This unlocks the door to the boss. And when you're ready, head on in....
Wow.
Okay.
So, even though he keeps his mouth closed at ALL times, this big ol' fish, Jabu-Jabu, is perfectly, um, escape-able. Which probably is a word. Or not. Wait, what?
Anyway, you can escape! By walking RIGHT through his teeth. Perfectly logical.
'Nuff said.
Okay, so, anyway, yeah. Head forward and two Oktoroks will pop out. Defeat them with the Deku Shield just as you would a Deku Scrub. Then proceed, my dear friend.
(You can also kill the Shaboms, but they are bubbles, and I just have this feeling that bubbles will probably not, say, kill you in two hits. But you can. If you want. Only if you want. No pressure. The world won't end if you don't. ...Or will it?) Now, being in a fish is (well, probably NOT) cool and all, except for the doors. Which are made out of veins. Yes. The ones that you see on your wrist kind of veins. So. Good thing a, well, weird bumpy slimy fishy... knob... is above the door. Shoot it with your slingshot and proceed through the door that looks like it's pulsing. Which it probably is. As we are in a fish.
In here is a jellyfish called a Biri. And because you have no boomerang, avoid it.
Did I accidentally give it away?
The weapon of this dungeon?
Oh, NO!
Anyway, enter the door on the other side.
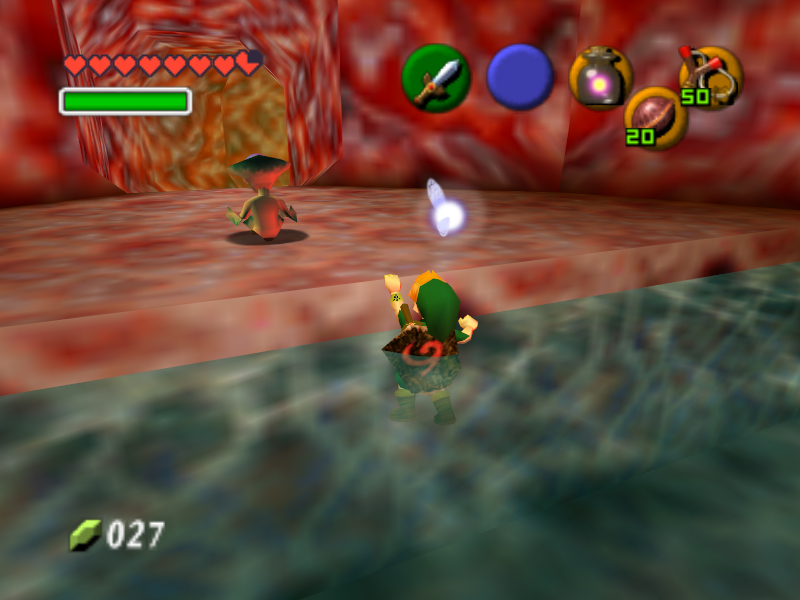
In here is... let me clear my throat... >Ahem<...
Alllll hail Princesssss Ruto, the snobbbbbyyyyy braaaaaaaaaatttttttttt of the Zzzzzzzzzooooorrrrrrraaaaassssssss!!!!!!!!!!!!!!!!!!
(It's Ruto.)
And Ruto does not know what note in a bottle we're talking about.
Nor does she want to give us the Spiritual Stone of Water.
Nor-nor does she want our help.
Nor-nor-nor - wait. Never mind. She fell into a hole.
F
o
l
l
o
w
h
e
r
a
l
l
t
h
e
w
a
y
d
o
w
n
.
.
.
.........
into a room. Talk to her. She'll complain. Talk to her again. She'll complain. Talk to her a few more times, and she'll ask you to carry her and proceed to curl into a ball.
What.
Anyway, carry her to nearby door. Go in. There's some Shaboms in here, and you can kill them. Or throw Mrs. Lazy-Fishface-I-Can't-Walk-Myself at them. Either one. Go around the corner and kill these little fish - Stingers. Throw Ruto to the other side of the pit you're facing.
Now, step on the button in the middle of the pit to raise the water level. Use the water to swim to other side, and grab Mrs. Lazy-Fishface-I-Can't - Never mind, Ruto. There's another closed door; hit the knob again to go through.
In here, quickly set down Mrs. Lazy- Uggggggggghhhhhhhhhh, Ruto - and kill the Oktorok. There's also a Business Scrub nearby selling Deku Nuts for 20 Rupees; he's in the hole straight ahead;;dive down there.
Now, wait for the raising/lowering platform to come toward you, grab Ruto, and jump on it. It leads to the main room, so go through the door leading to where you first met Ruto.
Go to the other side of the room, to the door that we haven't gone through yet. Be careful! - Biri and now Bari will appear. Go in the door.
Now, in here, there are many halls and doors and - Oh, yes - Tailspasaran, a new enemy that you MUST IGNORE!!!! Go right, and there's a door; to open it, step on the switch BUT WAIT! You need to hold Ruto, because it's not enough weight with you and you alone.
There are four Stingers in the room the switch unlocks. If you kill them all, you get the Boomerang! Okay, why did Ruto follow us in? Anyway, pick her up and leave.
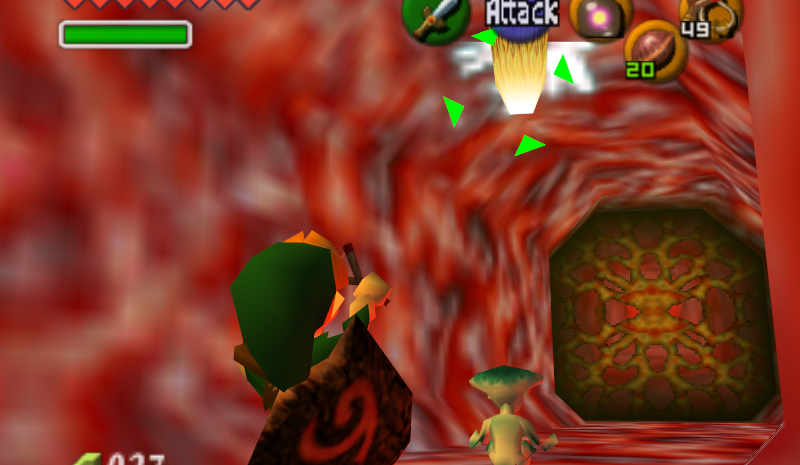
Oh, hey! Now that we have the Boomerang, we can kill the Tailspasaran! Target them and release the Boomerang.
Hey, that sounded cool.
Release the Boomerang.
Um.
Anyway.

Head to the other door with the switch, across the room. This time, you need to put Ruto on the switch and go in without her.
(Yes!)
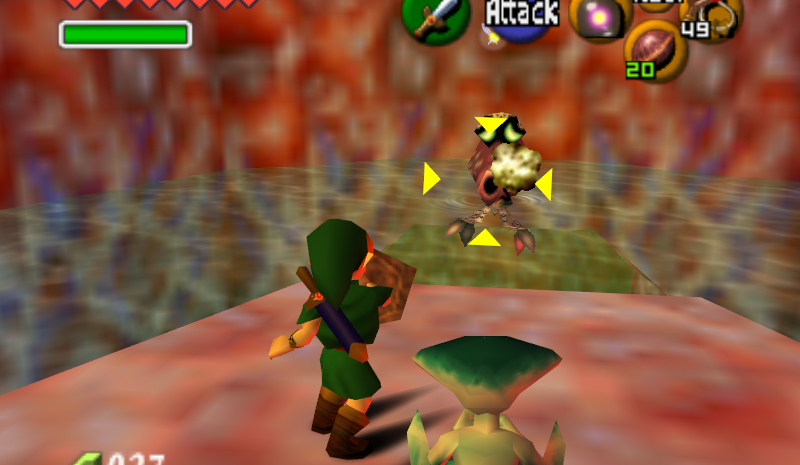
In here is a Parasitic Tentacle; kill it with a couple'a hits from your boomerang by targeting it and walking in circles around it. Afterward, a chest appears with a map in it... but if you're reading this, you don't need it! Because I'm telling you where to go.

Now, Ruto is upset you left her. Well, guess what, Ruto? I'll leave you again. If I want to. Because guess what?! If I leave you, you'll automatically respawn wherever you last were! Neener-neener-neener! Okay, so now for the compass. Round the corner, and enter the door, which used to be blocked. By the tentacle. That you just defeated.
So, in here, there is a bunch of Shaboms. And even though they don't hurt you, if you don't "Kill them alllll!!!" in the time limit, your health is missing when you respawn. Hmm. But do kill them all. In the time limit. Of 40 seconds. Then a chest will appear with the compass in it. Yay!

A way to kill them is hit them with the boomerang as shown above, or just do it the traditional way. With a sword.
Once you have the compass, go back to where you found the boomerang. The door next to it is open, so go in. (You might need Ruto for extra weight. If not, it's glorious being without her!) In here is another Parasitic Tentacle: A blue one. Kill it as you did the red one, then leave.

Now you can head to the hallway that branches out in the middle; the ' middle hallway '. In here is - gasp - another Parasitic Tentacle! A green one. Defeat it how you did the red and blue ones. But be warned - Biri, jellyfish, are surrounding it. This one can smack you into the Biri, so defeat them first with the boomerang.


Now, once all the tentacles - that - happen - to - be - parasitic are defeated, backtrack to where you met Ruto.
The hole at the top left corner of the room used to have a Parasitic Tentacle sticking out of it - surprise, surprise - but now it's gone. So fall down that hole.
Now, on this platform, you can kill the two Gold Skulltulas with your Boomerang and grab the tokens the same way, or just proceed down this hallway.


WHAT?!?!?

NO. WAY. NO. HOW. NO... NO FAIR! You know what?! Claim it as your own! Step forward, and... well, even better, watch Ruto fall down a hole and possibly into the jaws of a Big Octo. And, well, even worse... follow her in.

So, this is a Big Octo, a mini - boss. He runs in circles around a spiked platform, and the spiked platform spins. He runs in whatever direction it's spinning, so that's good to know if you are running for your life and the platform changes direction suddenly. 5-second rest period! Anyway, there are two ways to defeat him. The first is a little trickier, but effective anyway. Run a away from him, staying close to the spikes until you reach his backside. Target him, hit him with the boomerang, and slash him while he's stunned. The second way is easier but damages your health a bit. Since he turns around when he hits you, purposely let him hit you, then when he turns around, stun him and slash him. After four hits, he dies.

Step on the spinning platform - which does not spin anymore and is not spiky - and you will be raised to the next level.

The boss is coming up soon, so grab some hearts if you're low. And now, here are some wiggly electric jelly blobs. Oh, they're trying to kill me? Well, I'll just kill them back!
Not so fast.
Hit the first one with the Boomerang and - gasp - step on it! From here, hit the next one, jump on it, and jump to the door from there.

There's a platform just sittin' there in the place we end up in. Jump on it. Ooooh, an elevator! Sadly, (Actually, happily) we don't have Ruto anymore, so drag a box onto the switch in front of the door instead. (Why there is a box inside a giant fish is beyond me. Actually, so is why there are treasure chests in here. And jellyfish. Well, maybe he ate those. But they survived. And Shaboms must be, well, gas bubbles.)
Kill all of the Biri in here, then go to the other side of the room. Kill the Golden Skulltula on this web, grab the token, then climb up the vines it was on.
Notice the switch above the door. It's blocked by webs, so target it from different angles and hit it with the boomerang until you hit it. You may not get it on your first try!
This unlocks the door to the boss. And when you're ready, head on in....
NBE WUITE UGKY, I GOTY IT IM PRO GAMER AND I HAVE A:LL THE S@EET MOIWVE SO MOEVE ALONEF.
ReplyDeleteHAHA SHUsh
Delete